How to remove a background in Canva (and fix the edges)
Removing the background is one click. Getting a clean edge, and knowing what your plan allows, is the part that takes a minute of reading.
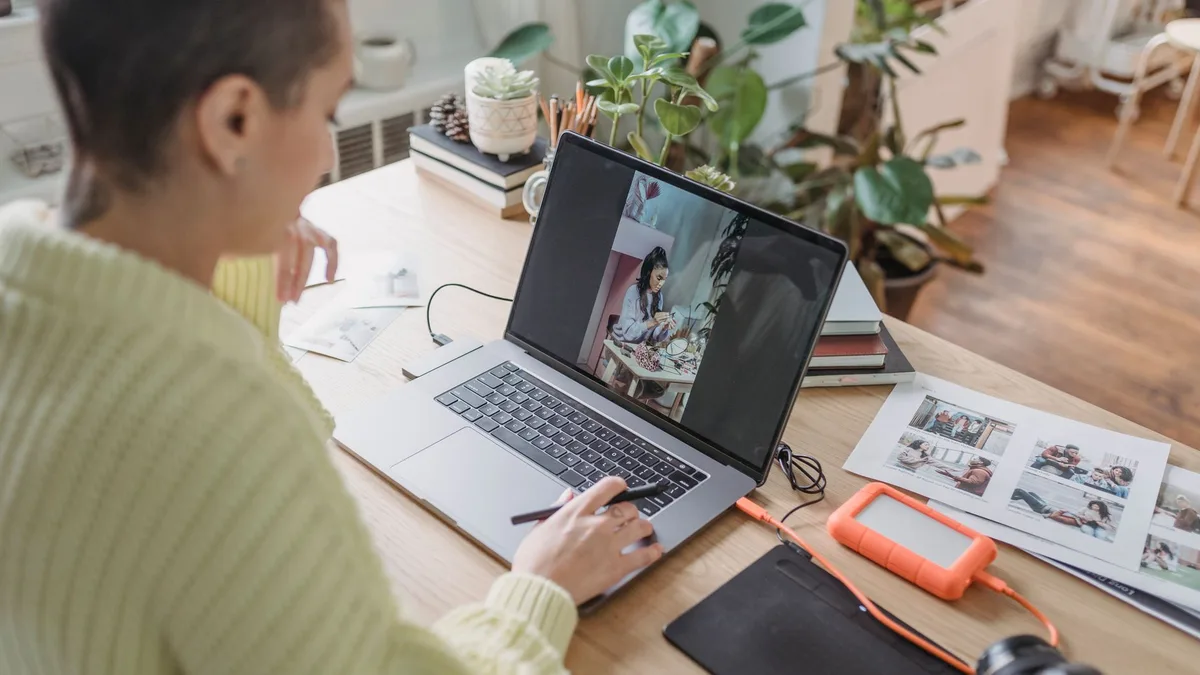
Background removal is the most requested thing people try in Canva, and the answer to whether it is free has changed over time. Older Canva pages mention one free use, while Canva’s current plans page does not show it. This guide sticks to what Canva documents and says plainly where its pages disagree.
The removal itself takes one click. The work is in the edges, in exporting the result so it stays transparent, and in knowing the limits when you need to clear more than a handful of photos.
What you need to know first
Before the step-by-step, these are the points that decide the outcome. If you are in a hurry, the first one covers most cases.
It is in the toolbar
Select the photo in your design and BG Remover appears in the editor toolbar. If you cannot see it, you have probably selected the page or a frame, not the photo.
Check your plan first
Canva’s plans page lists the photo Background Remover as not included in Free. Older pages that mention one free use do not match it.
Erase and Restore fix the misses
Select the cutout and click BG Remover again to open the brushes. This is where hair, chair legs and bag straps get repaired.
Up to 50 images at a time
You can remove backgrounds from a folder of uploads in one go, with limits: one folder at a time, no more than 50 images, and only photos you uploaded.
Which plan you need
Canva’s older and newer pages differ here, so this is the reading that matches its current plans page.
| Question | What Canva says |
|---|---|
| Is Background Remover included in my plan? | The plans page marks it as not included in Free and included in Pro, Business and Enterprise |
| Is there a free use? | Some older Canva feature pages say one free use. The current plans page and the Help Center do not show it |
| Can I download with a transparent background? | Only on Pro, Teams, Business, Education and Nonprofit plans |
| Can I use it without opening a design? | Yes, Canva says Background Remover and Add background can be opened without creating or opening a design |
| Are there file limits? | Photos up to 9 MB, and images above 10 MP are reduced to 10 MP |
The row that catches people out is the third one. You can remove the background and still download a flat image, because the transparent export is a separate setting from the removal itself. If you only plan to place the cutout onto another background inside Canva, you may not need it.
The route
Step 1: Get the image into a design
Open or create a design and add your photo from Uploads in the side panel. If you only want the cutout, any design size works. A square custom size keeps things simple.
Step 2: Select the photo itself
Click the image so that it is the selected object. If the selection is around the whole page, you have selected the background and the toolbar will not show BG Remover. Click directly on the photo, not on an empty area.
Step 3: Click BG Remover
Click BG Remover in the editor toolbar and wait for the background to be processed. If your plan does not include it, Canva will tell you here. You can also type a request such as “Remove background” into Ask Canva, which Canva lists as another route in the editor.
Step 4: Download as PNG
Open Share, then Download, choose PNG, and turn on Transparent background. Without that switch you get a solid background behind your subject. Remember the plan restriction in the table above.
Fixing the edges it gets wrong
Automatic removal copes well with hard-edged objects and worse with fine hair, thin gaps such as chair legs, and anything semi-transparent such as glass. All of these can be repaired by hand.
- Select the image and click BG Remover again. Canva says this reopens the tool on the cutout, with a pixel eraser panel that offers Erase and Restore.
- Choose Erase to remove leftovers. Grey halos and stray scraps of the old background come off with a few strokes. Use the brush size slider to go smaller near an edge.
- Choose Restore to bring back what was deleted. Fingers, ear tips and the handle of a bag are common casualties. Paint over where they should be and the original pixels return.
- Use Show original image to compare. Canva includes this option while you edit, so you can check what the tool took away.
- Zoom in before you judge the result. Canva itself suggests zooming in and moving around the image when you work with the brushes, because edges that look clean at page zoom are often ragged up close.
A practical trick that is not from Canva: put a strong colour behind the cutout while you work. Fringing that disappears against white is obvious against red, and your buyers will see it against whatever background they use.
Removing many backgrounds at once
Worth knowing if you are listing products rather than making one graphic. Canva documents two ways, both starting from the home page under Projects.
| Method | Steps | Result |
|---|---|---|
| A whole folder | Hover the folder, open More, choose to remove the background of its images | Canva creates a new folder named after yours with Edited added, and leaves the originals alone |
| Selected images | Open the folder, tick the images, choose Background Remover in the bottom toolbar | The edited photos are added to the same folder |
The limits Canva lists are worth reading before you start:
- Up to 50 images at a time. A folder with more than 50 images cannot use the whole-folder option, which appears greyed out.
- One folder at a time.
- Only photos you uploaded. Photos from Canva’s library and designs placed in the folder are skipped, which is the usual reason images seem to go missing.
- Paid plans only, like the single-photo tool.
If some images did not come through, check the new Edited folder first, then check whether the missing ones are library photos or designs.
The short version
Select the photo, click BG Remover, then download as PNG with Transparent background on. If the edges are rough, click BG Remover again and use Restore.
If your exported file keeps arriving with a solid box behind it, the transparency guide covers where that goes wrong. And if you want a softer result than a full cutout, blurring the background is a different tool that does not use the Background Remover.
Frequently asked questions
Is Canva background removal free?
Not on the Free plan, according to Canva’s current plans comparison, which marks the photo Background Remover as not included in Free and included in Pro, Business and Enterprise. Canva’s Help Center also says it is included with paid plans. Some older Canva pages describe a single free use, and the plans page does not show one. If you need it without a subscription, Canva lists a separate Background Eraser app in its Apps marketplace, whose listing describes it as free on any plan.
Why does my downloaded image still have a white background?
Usually because Transparent background was not switched on, or because you downloaded a JPG. JPG cannot store transparency. Go to Share, then Download, choose PNG and turn on Transparent background. Canva says that switch is only available on Pro, Teams, Business, Education and Nonprofit plans.
Does using BG Remover mark my design as AI content?
It should not. Canva says Background Remover uses AI but counts as an editing tool, and that it adds AI-content metadata only when a feature creates new content or changes it significantly, such as Magic Media or Magic Edit. If a design is flagged anyway, Canva asks you to contact its Help team with the design link.
What is the maximum size for removing a background?
Canva lists a limit of 9 MB per photo for the tool, and says larger images may be reduced to 10 megapixels when the background is removed. If a large photo fails, resize or compress it first and try again.
Keep reading
Transparent backgrounds: PNG, WebP and why yours keeps breaking
The reason your transparent logo arrives with a white box, which formats really support transparency, and how to check a file before you send it.

How to blur the background of a photo in Canva
Canva has two tools for a blurred background: a brush you paint with, and Auto Focus. Here is where they are now and how to keep the result natural.
How to change the background colour of an image in Canva
Which route to use depends on your plan and your photo. Steps for setting a background colour in Canva, the free options, and the white-background rule.